In my recent blog: “Do Special Holidays/Celebrations and Ancestry Have Something in Common?“, I mentioned that the storytelling should be attached to your online ancestry tree as either a document or a photo.
In this “How to” tutorial, I will walk you through the process of how to add photo media to your tree in Ancestry, which includes several different types of formats based on the photo.
To add a photo you will need to open the person and their profile page in your tree. After signing-in, Ancestry® will take you to your homepage.
Homepage

To find the desired person so you can add the photo, follow these steps.
- Click on “Go to tree.” This takes you to your tree and will either be pedigree or family views.
Pedigree View
Family View

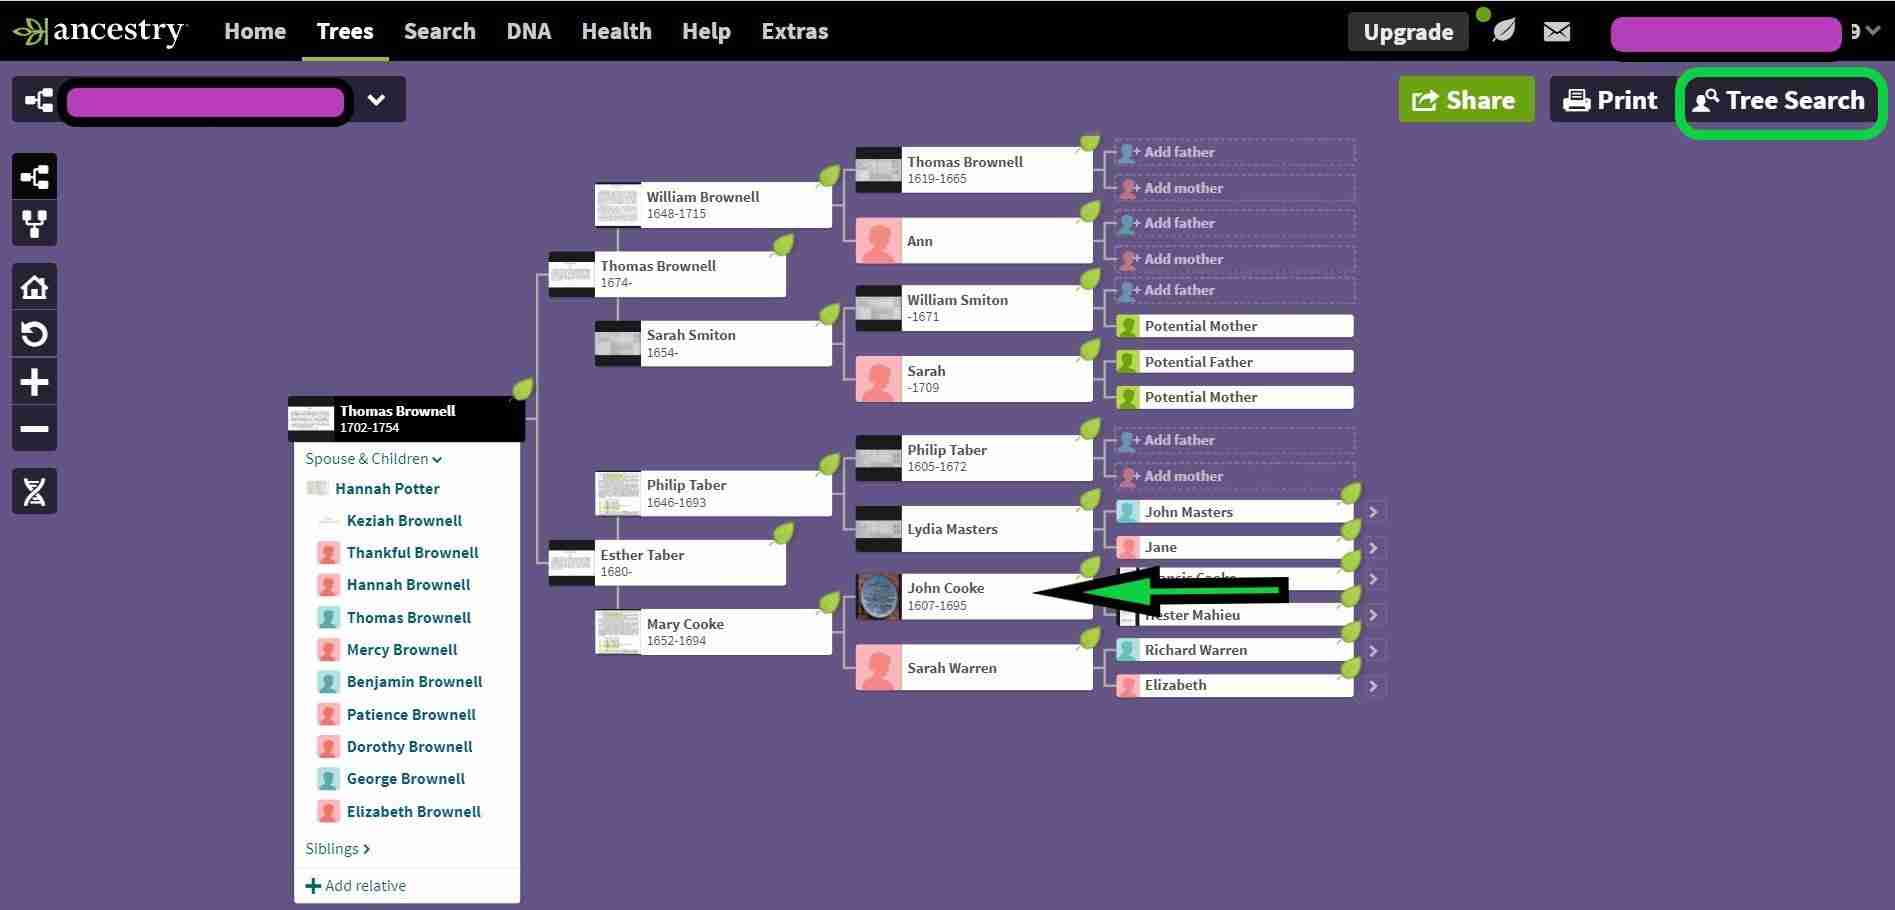
- If you don’t see the person in the “Tree views” then click “Tree Search” on the upper right side of the screen under your profile photo and name. Start typing the person’s name and the search will start generating people from your tree.
- Now choose the person from the list and it will bring up their tree view.

- Next, click either on the name, (“John Cooke” in this example) or click the word, “profile” to open the page fully.

- Once fully opened, you will click on “Gallery” to add your photo.

- Now, you can view all of your photos for the person in question.
- Click on “Upload Photos”.
- JPG or PNG are some of the acceptable formats for photos. My preference is JPG.
Upload Photos
- In my example, I am adding a Death Record photo to John Cooke. Photos can also be used to include your interview or a story from your relative that you want to add to their profile page. This is a nice way to showcase your relative in your tree. If your relative is “living”, only you and people that you give permission to see the “living” will be able to view the photo.

- When uploading the photo, the title you gave your photo when you saved it on your computer will populate for the title on the form. If you do not like that, then input what you want the title to be in the box. My title is “John Cooke Death Record.”
- Next, in the “Details”, select the type of media. In my example, I chose “Document/Certificate”

- In the details, you can choose how much you want to input. If you decide to tie your story to the photo, then copy and paste the story into the “Description” box.
- Besides adding your story in the “Description” box, it will also be used at the end of your story to add the citation information for citing the source. This is important as it verifies your documentation and anyone that looks at it can find the document where you say it is located.
- One caution, make sure the whole story is added in the description box because if you go back to add another paragraph, Ancestry will not let you.
- If my example was an interview story, I would reflect that in the title and then cite it after the story. I would also add the date the interview was done and the location in the box. I did not fill those boxes out in the example for “John Cooke”, but do not forget to do so yourself.
- Since the document that I am adding is not a personal story, but a factual record, I found the record information as an original digital photo on FamilySearch and used their download button to save it as a JPG photo on my computer.
Family Search Document Film # 7009647

- When looking at documents on FamilySearch, there is a button to copy the citation. This saves a lot of time.
- Then, I make sure I add the website, in this case “FamilySearch.org”, and I add today’s date.

- In the “Linked to” box you might need to link this photo to other people in your tree. Just click the “+Add” button and start typing the name of the person and it will populate names from your tree.
- One other note about “Linked to”, if you click the downward arrow, you have the choice to make this a “profile photo” or you can “unlink this photo to this person”. I already have a profile photo, so I did not check either of the choices.
- Last, click “Done” and check to see how the photo looks in the “Gallery”. If you forgot something minor, when you open the photo fully you will see the edit button to the right of the person, so you can make minor changes. You cannot add much here, so it is especially important that you got it right earlier.
- The only edit I made to the “John Cooke” photo was that I added the death year to my title.
Now that I have walked you through the process of how to add photo media to a specific person in your ancestry tree, you will be able to add your story to a photo of your relative.
If you still have questions or need help, please leave a comment at the bottom of the article or go to my “Contact” page and follow the instructions to send me a personal message.
If you would like to read more articles about genealogy, please visit my homepage: https://www.nancydrugenealogy.com/.